
How to Recoat Hardwood Floors, Step by Step: All 7 Stages of a Job
October 17, 2026 · FloorIt Insights
Watch the video on this page. The chapters on the video page jump to each stage, like 'Stage 2: walking the floor' at 3:01, 'Stage 3: the three tests' at 4:40 and 'Stage 5: job day' at 7:15. Open the video page
To recoat a hardwood floor, you check that it is a floor you can recoat and in good enough shape, run three quick tests, buff the old finish, clean it and lay one fresh coat of two-part finish. The work on an average floor takes one person about 3 hours. But that is only one of seven stages, and most of the money is lost before you ever touch the floor. Here is each stage in order.
The seven stages at a glance
Most of the money is lost at stage 2, the estimate. Most of the value you give is at stage 5, the job itself.
- Stage 1, the phone call: qualify the floor before you drive out.
- Stage 2, the estimate: walk the floor and set expectations.
- Stage 3, the tests: three quick checks in a hidden spot.
- Stage 4, the quote: square feet times your price, plus add-ons.
- Stage 5, job day: prep, buff, clean and coat.
- Stage 6, drying: when the family can use the floor again.
- Stage 7, the handoff: photos, payment, a review and a referral.
Stage 1: qualify the floor on the phone
The first job is to make sure the drive is worth it. On the call, find out three things before you book anything.
- Is it a floor you can recoat? Solid hardwood, engineered wood, factory-prefinished floors and LVP can all be recoated. Laminate, sheet vinyl and painted floors cannot. If the homeowner is not sure, the photos will tell you.
- How big is it, and which rooms? Get a rough square footage: living room, hallway, bedrooms, closets, stairs. You want to know it is a real job, not the corner of a closet.
- Can they send photos? Ask for wide shots of each room and close-ups of the spots that get the most wear, like the main walkways, the path to the kitchen and the area in front of the couch.
Stage 2: book fast, walk the floor, set expectations
Book the estimate within a day or two, while the homeowner still cares. Waiting three, four or five days lets that interest cool off.
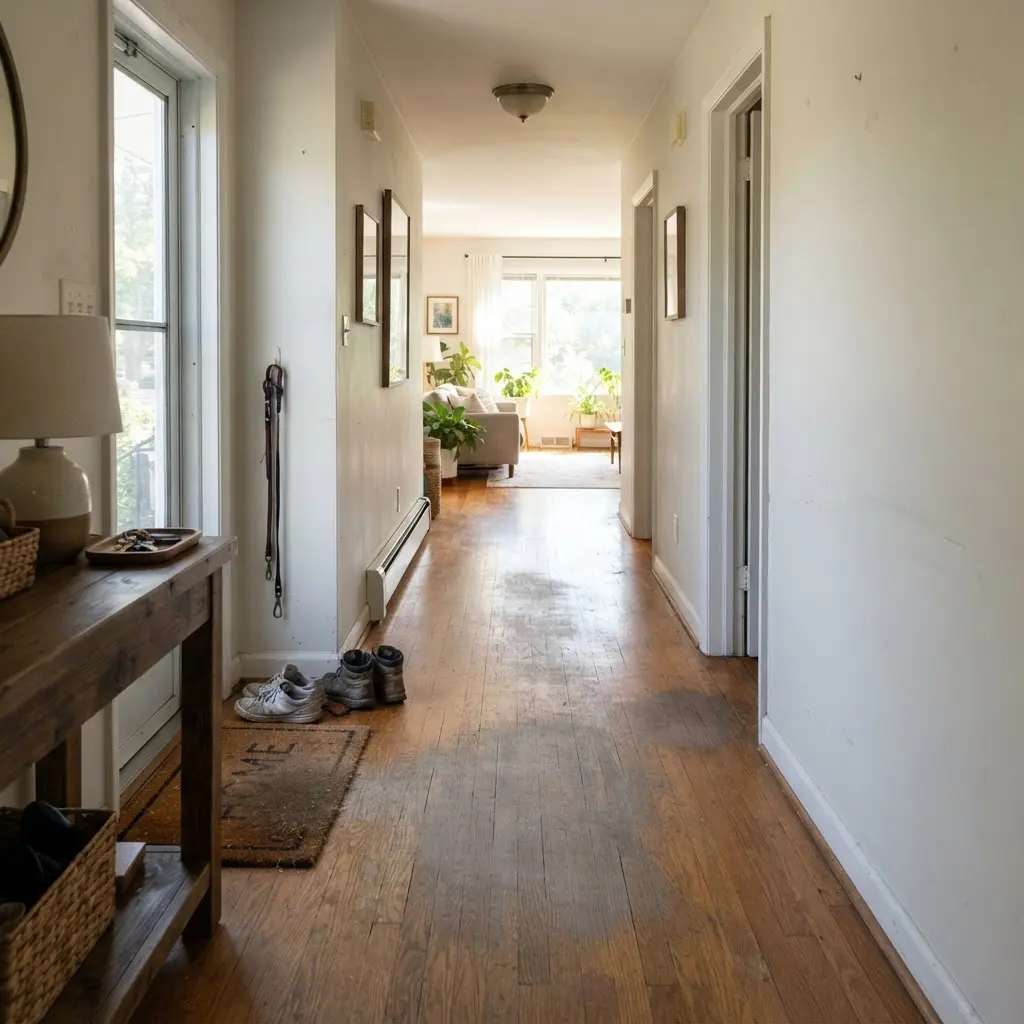
At the estimate, walk every room. Look for gray bare wood where the finish is worn through, deep gouges, pet stains, cupping boards and popped nails. A recoat only renews the clear coat on top. It does not fix the wood underneath. Some floors are a no, and walking away from one is part of the job.
Plenty of homeowners are fine with a few old scratches if it saves them a full sand. That is OK, as long as you tell them exactly what the floor will look like after. A deep gouge under a fresh coat is still a gouge. Setting that expectation is how you keep the job instead of losing it.
Stage 3: the three tests
Before you quote, run three quick tests in a hidden spot, like a closet. They take only a few minutes, and they protect the homeowner's floor and your name.
- Wax test. Rub a white rag with mineral spirits on the floor. Yellow or brown on the rag means wax. The wax has to come off before a new coat goes on.
- Polish test. Put a few drops of ammonia down for 2 to 3 minutes, then wipe. A milky, dull spot means an acrylic polish, the kind in store mop-and-shine products. That has to come off too.
- Tape test. Scuff a small spot, press tape down and pull it up. If old finish comes up with the tape, the floor is not a safe base for a new coat.
What the test results mean for the job
A failed wax or polish test does not end the job. It adds a step. The wax or polish gets stripped off first, then the floor goes through the same process as any other.
A failed tape test is different. If the old finish lifts or peels, the new coat has nothing solid to grip. Loose finish from a bad past job can sometimes be scraped and screened, but a floor peeling in sheets usually needs a full sand, not a recoat.
The type of floor matters as well. A factory-prefinished floor has a very hard finish, so it needs slower, more thorough screening for the new coat to grip. On engineered wood, pull a floor vent to see how thick the top layer is, and screen gently. If the finish is worn into the color in the traffic lanes, those spots need a color touch-up before the coat. Down to gray bare wood means a full sand. LVP gets a light scuff with a fine maroon pad instead of a screen, and one coat. Test a spot first.
When you are not sure, take photos and ask. FloorIt partners with a flooring company, and partners send photos of any floor they are unsure about.
Stage 4: the quote and add-ons
The quote is simple: square feet times your price. Recoats usually run about $1.50 to $3 a square foot, depending on your market. On a 1,000 square foot floor, that is about $1,500 to $3,000.
Extra prep, like taking off polish residue or bonding to a factory finish, can be charged on top. So can moving furniture. The video gives about $100 to $200 as an example, or you can ask the homeowner to clear the room before you come. Hallways, stairs and closets can go on the same quote, so the whole home looks even.
Put every add-on in writing on the quote, so there are no surprises on job day.
Stage 5: job day, prep and the coat
Prep is the main job. Clear the room, or confirm the homeowner already did. Then screen the floor with a floor buffer and a 120 to 180 grit screen. The goal is to dull the old finish so the new coat grips, not to sand down to bare wood. Go along the edges and into the corners with a hand trim pad, so the whole floor is evenly dull.
The dust tells you how it went. A fine white powder means a cured finish that will bond. If the screen glides, smears or the finish peels up in sheets, stop: that floor needs a full sand.
Next, vacuum the floor and the baseboards, then tack it with a slightly damp mop until there is no fine dust left. Any dust under the coat shows up as bumps, and you cannot get it out once the coat is down.
Open the windows and set fans to pull air out of the room. Then mix the two parts. The small bottle of hardener goes into the gallon, you shake it, and you let it rest for a few minutes before it goes on. Wear gloves and goggles while you mix, and only mix what the job needs.
Cut in along the walls with a trim pad, then roll the open floor with the grain, using a roller on an extension pole. Keep a wet edge, so there are no lap marks. Do not spread it thin to stretch a gallon. Plan your path so you finish at the door and never step on wet finish.
The gear is simple: a 9-inch roller on an extension pole, microfiber roller covers, screens, a trim pad and one buffer. The buffer weighs about 110 pounds and fits in a car. About 1.8 gallons of finish covers an average 1,000 square foot floor in one coat.
Stage 6: drying, and what to tell the family
The family does not have to leave home, and there is no sanding dust through the house. They just stay out of the room while the coat goes on and dries. Give them these times in writing before you leave.
- Ready for another coat: about 2 to 4 hours, if the floor needs a second one.
- Socks and light use: at 24 hours. No shoes and no pets running on it.
- Furniture back with felt pads: about 3 days. Lift it into place, do not slide it.
- Fully cured, rugs back: about 7 days.
Stage 7: the handoff
Take before and after photos, and a short video walk-through before and after. Make sure everything is clean before you show the homeowner.
Aftercare is simple. Felt pads go under chair legs and furniture, and rugs on the busiest walkways help. Clean with the cleaner you leave them, and skip oils, soaps, steam mops and store shine products.
Then collect payment, ask for a review, and always ask for a referral. One customer can turn into two, and two into four. Every referral is a job you did not pay an ad to win.
FloorIt trains partners on every stage, from the marketing and the calls to the estimate, the job and the invoice. Alex is open in the video that he is a marketer, not a floor person, so the floor training comes from people who have done the work for years.
Common questions
- What can a recoat not fix?
- Deep gouges, pet stains, cupping boards, popped nails and gray bare wood where the finish is worn through. A recoat renews the clear coat on top, not the wood underneath.
- How do you know if a floor can be recoated?
- Run three quick tests in a hidden spot: a wax test with mineral spirits, a polish test with a few drops of ammonia and a tape test on a scuffed spot. Wax or polish has to be stripped first. Finish that lifts with the tape means the floor is not a safe base.
- How long does a recoat job take?
- About 3 hours of work for one person on an average floor. The coat is ready for another in about 2 to 4 hours.
- When can the homeowner walk on a recoated floor?
- Socks and light use at 24 hours. Furniture goes back with felt pads in about 3 days, and the floor is fully cured in about 7 days.
Ready to bring the recoat to your city?
One partner per area. Check if yours is open.
More Insights
How Many Homes Have Hardwood Floors? What It Means for a Recoat Business
October 17, 2026
A Home Service Business That Stays Busy in Winter: 5 Years of Data
October 17, 2026
Hardwood Floor Demand Calculator: How to Read Your Area's Report
October 17, 2026
An Add-On Service for Home Service Companies: Why Owners Add Recoats
October 17, 2026
Facebook Ads for Flooring: Cost per Lead, per Estimate and per Job
October 17, 2026
How to Start a Business While Working Full Time, Without Quitting
October 17, 2026